
Types of Tints for Every Need
Dyed Window Tints
Surface temperatures on a parked car in Durban can exceed 70 degrees Celsius. Dyed window tints handle that reality through layered absorption films that shield both cabin and occupants.
I’ve found that the dye layers soak up solar energy before it reaches the glass. This makes them an affordable choice for daily drivers who prioritise glare reduction and basic heat relief.
- The deepest shades give the most privacy
- Fading occurs gradually over years, not months
- Installation cost stays noticeably lower than premium films
While they don’t match ceramic performance for infrared rejection, these films still handle visible light and UV damage with dependable competence. That practical balance explains their staying power.
Metalized Window Tints
Durban’s sun has a way of turning your car’s interior into a slow cooker, a reality that pushes many drivers toward a more robust solution than dyed films. Metalized window tints are a step up, using microscopic metallic particles embedded in the film to reflect solar energy rather than just absorb it. This reflective power delivers superior heat rejection, keeping your cabin cooler even as the afternoon sun hammers down on the highway.
But the real magic is in how these tints handle the physical marketplace of everyday driving. The metal layers reinforce the glass itself, holding shattered pieces together if a stone strikes your windscreen or a stress crack appears. That added strength is a genuine safety benefit I have always found compelling for family vehicles.
There are, however, trade-offs that always make me pause before recommending metalized tints to everyone.
– The metallic particles can interrupt GPS, radio, and even cell phone signals in some cars.
– The visible light transmission can be slightly lower, reducing clarity at night.
– The finish can have a slightly hazy or shiny appearance on certain glass angles.
Despite those constraints, the durability curve is excellent. These films rarely fade, and their structural resilience makes them a long-term investment for drivers who park outside in South African suburbs. They sit comfortably between dyed films and the premium ceramic options, offering a practical middle ground for heat and safety without the full price tag of top-tier tints.
Carbon Window Tints
Carbon window tints occupy a fascinating middle ground. Unlike metalized films, they contain no metals, so GPS and radio signals pass through untouched. The carbon particles absorb heat evenly, reducing cabin temperature without the reflective sheen.
This places carbon film as a quiet favourite among Durban drivers who want performance without the signal headaches. The matte finish also looks elegant on modern glass. While it may not match ceramic films on extreme heat rejection, its price point and balanced behaviour make it a sensible choice. I often recommend this option for daily commuters who value simplicity and reliability.
Ceramic Window Tints
Ceramic window tints reject up to 99% of UV radiation, yet the glass remains perfectly transparent. No metal, no haze, no signal interference. This is the hallmark of modern film engineering.
Consider the physics. Ceramic is a poor conductor of heat, so it insulates rather than absorbs. Your cabin stays cooler, your aircon works less, and your dashboard avoids premature ageing. For those who demand performance, ceramic tints justify their premium price.
I have installed these on executive sedans and family SUVs alike. The moment you slide into the driver’s seat, the difference registers in your skin. Durban’s sun becomes a distant concern.
Hybrid Window Tints
Hybrid window tints occupy a deliberate middle ground. They combine a dyed layer with a thin metallized coating. The dyed component absorbs solar energy, while the metal reflects a portion of infrared radiation. This dual action produces consistent heat rejection without the total signal obstruction of full metal films.
Consider what hybrid films offer the South African driver:
- Solid UV blockage at a moderate price point
- Reduced interior heat without a mirror finish
- Compatibility with most factory radio and GPS antennas
I have tested enough films to know that metal content above a certain threshold will degrade GPS reception. Hybrid tints deliver a balanced portfolio of performance. You retain a neutral appearance, and your onboard electronics remain responsive. For many sedan owners, this balance is the deciding factor. The glass looks factory, the cabin stays tolerable, and the cost stays grounded.
Key Benefits of Applying Tints
UV Ray Protection
South Africa’s sun exposes every surface to intense ultraviolet radiation, even through haze. This exposure ages skin and raises skin cancer risks. Applying tints blocks up to 99% of those rays, making every drive safer. You protect yourself and your loved ones without a second thought.
But UV light also attacks your car’s cabin. It fades dashboards, cracks leather, and weakens fabrics. Tints safeguard your interior’s worth. Here is what UV ray protection delivers:
- It filters out the spectrum that causes cellular mutation.
- It lowers cabin heat, easing the load on your air conditioner.
- It reduces glare, keeping your focus sharp.
I have watched drivers squint through afternoon commutes, and that is unnecessary. A professional installation offers everyday peace of mind for every passenger, silently and without upkeep.
Heat Reduction and Energy Efficiency
The South African sun can push cabin temperatures past 60 degrees Celsius by mid-morning. This is where heat rejection tints change the experience. They reflect solar energy before it penetrates the glass, keeping the interior tolerable.
Consider what this means for your vehicle. A cooler cabin reduces the strain on the air conditioning system, which lowers fuel consumption and preserves engine performance. Over a year of daily commutes, the savings accumulate!
Here is what heat reduction delivers:
- Surface temperatures on dashboards and seats drop significantly.
- Your air conditioner reaches its target temperature faster.
- You spend less time idling while waiting for cool air.
The result is a more efficient vehicle and a more comfortable journey. Choosing the right tints for your car balances cabin comfort with running costs.
Enhanced Privacy and Security
Driving through Johannesburg or Cape Town means navigating spaces where visibility cuts both ways. At a red light, you see everything around you. The concern is what others see of you, your passengers, and what rests on the seats beside you. Privacy tints transform a vehicle into a moving cocoon, a place where discretion is the default setting rather than an afterthought. The psychological comfort of this separation is substantial; you exist in your own space, shielded from the casual glances of pedestrians and fellow motorists.
Beyond the comfort factor lives the tangible matter of security. A vehicle with dark, quality tints offers no easy visual inventory to opportunistic criminals. They cannot discern a handbag, a laptop, or a parcel, which removes the immediate temptation that often leads to smashed windows. This obscurity is a powerful deterrent.
– Darker shades conceal valuables from casual observation.
– Reduced glare allows you to spot potential threats sooner.
– The film adds a layer of structural integrity, holding shattered glass together upon impact.
Any car protection plan should seriously consider this visual shield. It is not about hiding, it is about maintaining control over your personal space and the contents within it. With the right tints, your car becomes a private sanctuary, decreasing the odds of becoming a statistic. This peace of mind is a benefit that layers itself upon every drive you take.
Glare Reduction for Safer Driving
Glare from the Highveld sun or rain-slicked highways is a distinct hazard. It washes out road markings, blinds you at intersections, and masks pedestrians stepping from behind taxis. A quality set of tints cuts this harsh light dramatically, reducing eye strain during long commutes.
Consider the specific moments:
- Sunset on the N1, low light directly in your line of sight.
- Oncoming headlights reflecting off a wet road surface.
- The flicker of light through trees on a tree-lined avenue.
Less glare means quicker reaction times. Your pupils are not constantly adjusting, so your eyes can focus on movement and distance. In this way, tints contribute directly to safer, more attentive driving.
Interior Fading Prevention
A cracked dashboard is permanent damage. Once the sun fades those seams, no polish brings the colour back. That is why interior fading prevention matters more than most drivers realise. The combination of intense UV light and greenhouse heat inside a closed car accelerates material breakdown. You see it on the driver’s seat bolster, the armrest, even the rear parcel shelf. Applying tints is the practical answer. Quality window film blocks a large share of the solar spectrum before it hits your upholstery and plastic trim.
With tints, the cabin stays cooler by a few degrees. That small difference slows the chemical reactions that cause fading. Your car holds its value better. It also looks newer for longer. If you park outside at work or at the mall, the benefit is immediate. Over two or three summers, the gap between a tinted car and an untinted one becomes obvious.
Aesthetic Appeal and Vehicle Value
Tints change how a car is perceived. The aesthetic shift is immediate. A quality film deepens the glass, sharpens the roofline, and gives the bodywork a cohesive finish. Buyers notice! A car with tinted windows looks maintained, and that perception drives a stronger resale price. In South Africa’s harsh sun, the cabin stays cooler and the interior keeps its showroom condition. That combination is rare in the used market.
Here is what quality film does for your vehicle:
- Elevates the exterior presence without altering factory paint.
- Signals to potential buyers that the car has been cared for.
- Preserves the interior, which supports a higher asking price.
The visual appeal draws attention; the retained value keeps the price firm. Tints protect the asset beneath the surface.
How to Select the Perfect Tint Shade
Understanding Visible Light Transmission (VLT)
Ninety percent of drivers pick their window shade by squinting at a sample card under fluorescent lights. Visible Light Transmission (VLT) measures how much light your film allows in. It determines your privacy, your night vision, and your legal compliance. For South African roads, a VLT that works in Durban’s glare might fail in Cape Town’s drizzle. The common VLT thresholds for tints are:
- 5% VLT: maximum privacy, near zero vision at night.
- 35% VLT: the middle ground for most drivers.
- 70% VLT: subtle protection, heavy on visibility.
The perfect shade depends on your commute, not just your aesthetic. A 5% tint might look fierce, but it makes every parking lot a challenge. Darker tints do not automatically mean better UV defense. A 70% tint offers minimal drama, which for some is precisely the point.
Matching Tint to Your Vehicle Color
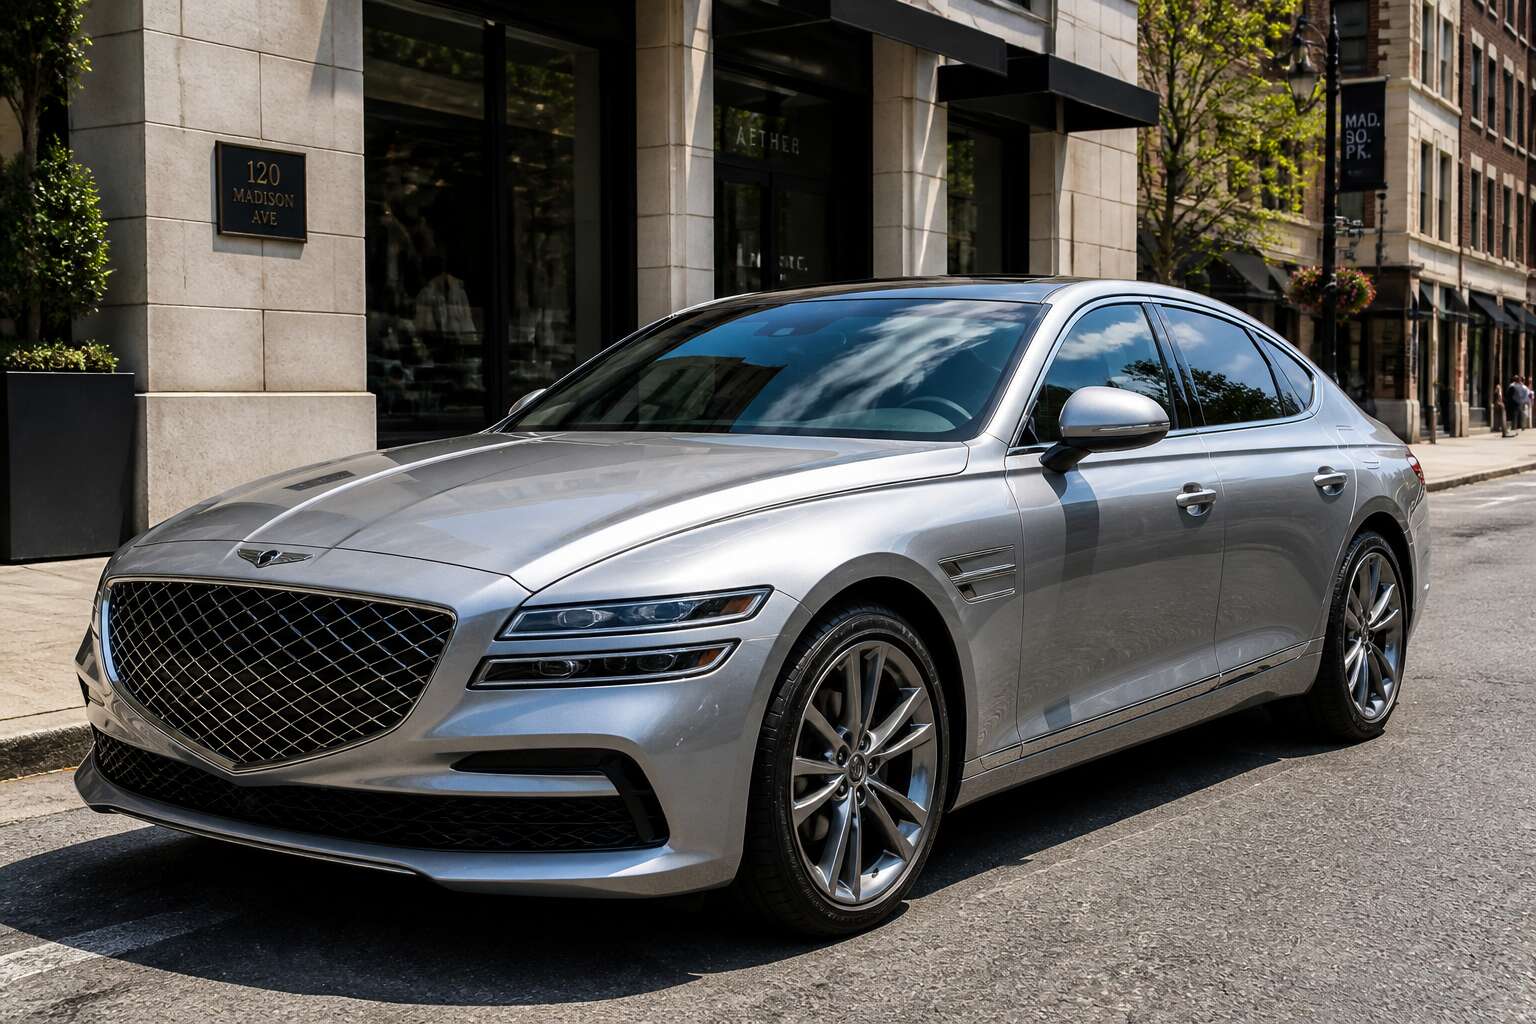
Your vehicle’s paint is not a neutral canvas. It is a statement of light. A silver car reflects the sky, so a darker tint can create dramatic contrast. A black vehicle absorbs the sun, and a 35% VLT can feel seamless against its depth. White cars demand balance; a 70% tint preserves their crisp brightness while reducing glare from the dashboard.
Consider the undertone of your paint. Warm colours like bronze or burgundy pair well with brown or amber films. Cool colours like blue or grey prefer charcoal or black tints. The best tints harmonize with the metal, not against it.
Popular tints in South Africa often follow this logic:
1. Light silver: choose 50% VLT for understated elegance.
2. Dark navy: choose 5% VLT for a bold silhouette.
3. White pearl: choose 35% VLT for versatile balance.
The shade you select should animate the bodywork, not obscure it.
Balancing Style and Visibility
South Africa’s sun demands a decision. The perfect tint balances what you see from inside with the impression you leave outside, and that balance depends on how and where you drive. For daily commuters, 50% VLT offers comfortable visibility on poorly lit roads. Night drivers often prefer a lighter film to avoid tunnel vision. Urban parkers value the anonymity of 5% VLT, but that shade can turn headlights into a blur. Think about your routes and habits. Choose a shade that protects your eyes without sacrificing your sense of control. Common considerations include:
- Legal VLT limits for each province.
- Your typical driving hours.
- Whether your vehicle has auto-dimming mirrors.
Comparing tints in direct sunlight and after dark reveals their true character. Well chosen tints do not hide you from the road; they connect you to it without overwhelm.
Considering Climate and Driving Habits
South Africa’s summer UV index regularly pushes past 11, forcing every driver to make a deliberate choice. Your local climate shapes how you choose among tints. Coastal drivers face relentless glare off the ocean and need films that cut brightness without darkening the cabin too much. Highveld drivers face intense midday heat, so they should prioritize heat rejection over darker shades.
Your driving habits matter just as much. Ask yourself:
1. Do you spend more time on highways or stop-and-go city streets?
2. Are your trips mostly at dawn, dusk, or full night?
3. Does your car sit in open parking lots during work hours?
A commuter who drives at sunrise on the N1 needs a lighter film than someone who parks under the African sun all day. Matching the tint to your actual routine prevents choosing a shade that works for one scenario but fails another. Test samples during the specific times you drive. The right tints adapt to both climate and schedule without compromise.
The Professional Tint Installation Process
Pre-Installation Cleaning and Preparation
The true test of a professional tint job happens before the first layer of film touches glass. In that quiet, sterile room, the smallest speck of dust becomes a permanent flaw beneath the surface. I have watched installers spend twenty minutes on a single window, meticulously scraping away invisible residue. The preparation is ritual, not routine.
Pre-installation cleaning demands specific tools and fluids. Technicians use a fine steel blade to remove hardened debris, then a lint-free cloth with a slip solution. They inspect every edge, every seal.
- Check for chips or cracks that could worsen.
- Clean the rubber gaskets around the glass.
- Ensure the workspace is sealed from wind and dust.
Without this exacting groundwork, the tints would bubble, peel, or distort within weeks. That is why a true professional treats a dirty window as an adversary, not an inconvenience.
Cutting and Shaping the Film
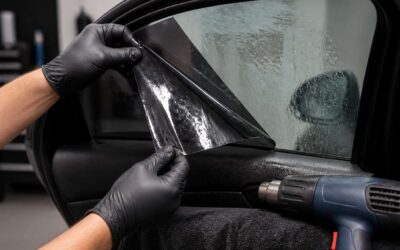
Precision becomes almost surgical when the blade meets the film. Installers measure each window with a computerised plotter or by hand, leaving a margin of error smaller than a millimetre. The film is scored with a sharp blade, then trimmed to match the exact curvature of the glass.
The edges matter most. A film cut too tight will show gaps. Cut too loose, it will curl at the corners. Professional tints require a steady hand and an understanding of how the glass curves. Some installers use a heat gun to shrink the film into shape, especially on rear windows.
Shaping tints demands attention to several points:
- The blade angle stays consistent throughout the cut.
- The surface remains wet to prevent the film from sticking prematurely.
- The edges receive a final trim only after the film is positioned.
Every cut leaves a trace. The best ones leave no trace at all.
Applying the Adhesive Layer
Applying the adhesive layer demands more than technical skill; it requires an understanding of how water, pressure and time interact. Professional tints depend on this stage more than any other. The glue is pressure sensitive, yet it only bonds properly with a careful balance of slip solution and pure water. In South Africa’s dusty climate, even a single airborne fibre can create a permanent flaw. The installer works from the centre outward, forcing air to the edges with each pass.
A common sequence looks like this:
- Spray the glass generously to lower friction.
- Position the film over its exact footprint.
- Squeegee with overlapping strokes until no moisture remains.
The adhesive cures slowly, so the tint stays movable for a short window. Experienced hands know precisely when to stop adjusting. That timing separates an average result from a flawless one.
Squeegeeing and Removing Air Bubbles
The squeegee stroke separates a flawless finish from a wasted sheet. An installer watches for the glint of trapped air beneath the film. Blade angle, pressure, and stroke speed all influence whether tints lay flat or develop flaws.
Air pockets form when moisture escapes unevenly. The professional works from the centre outward, using overlapping passes. Small bubbles get pushed to the edge. Larger ones need to be released at the film’s border before the adhesive grabs. A common removal sequence:
- Squeegee the area again to consolidate smaller bubbles
- Lift the nearest film edge to release trapped air
- Reapply slip solution to the exposed adhesive
- Squeegee the section again with firm, even pressure
Patience matters more than force. The slip solution needs time to migrate. Rushing creates milky patches that only appear after curing. In South Africa’s sunlight, flaws in those tints never blend away.
Post-Installation Curing Time
The job does not end when the last edge is tucked. Curing time is the quiet phase where the adhesive fully bonds and the slip solution finally dissipates. In South Africa’s harsh sunlight, this window shrinks in summer yet extends in coastal winters. The tints may look settled, but the water molecules trapped beneath are still migrating.
Several variables dictate how long this takes:
- Ambient temperature and humidity at installation
- The volume of slip solution retained during squeegeeing
- Whether the vehicle sits in direct sun or shaded parking
Most professional installations cure within three to seven days. Rushing this period damages the adhesion, creating the milky patches or lifted edges that South African installers see too often. Window movement during this period risks lifting the film edges while they remain vulnerable. The tints only reach their final clarity and bond once every trace of moisture escapes.
Tint Maintenance and Longevity
Cleaning Do’s and Don’ts
Your tints will last a decade if you respect a simple truth: they are not ordinary glass. In South Africa’s sweltering summers, the film expands and contracts constantly. The way you clean it determines whether those micro stress points become permanent creases, and I’ve watched good installations fail from careless wiping.
Stick to these cleaning practices after the curing period has ended:
- Use a dedicated microfiber cloth for every wipe.
- Mix a pH neutral cleaner with distilled water.
- Never touch a razor blade or steel wool to the surface.
- Avoid ammonia based products entirely.
That last point is non negotiable. Ammonia might conquer grease on your kitchen counter, but it gradually clouds the film’s inner layers. Your tints will reward this routine with years of crystal clear performance.
Avoiding Abrasive Materials
A single pass with a rough sponge can undo years of careful tint maintenance. Scratches accumulate slowly, each one weakening the film’s protective layers until the entire tinted surface loses clarity. In South Africa, where dust and grit are part of daily driving, abrasive contact becomes the leading cause of premature film failure.
Your tints are not invincible. The scratch resistant coating handles soft cloths, but it surrenders to materials with hard particles. I have seen installations ruined by household cleaners left to dry and then wiped with paper towels. Those tiny fibers act like sandpaper under pressure.
- Steel wool
- Razor blades
- Scouring pads
- Any cloth with embedded grit
The film’s adhesive holds firm, but its topcoat is the sacrificial layer. Once scratched, the damage is permanent and spreads as the film expands and contracts. Abrasive debris trapped between a wiper and the glass will scratch tints within days. Regular dusting with a clean microfiber cloth prevents the buildup that forces harsh cleaning later.
Protecting Edges from Peeling
The edges of your tints are the most vulnerable territory on the glass. That border endures every window roll, every dust storm, every afternoon sun on the rubber seals. In South Africa’s heat, the adhesive at the film’s perimeter can soften and creep, leaving a silvered line of peeling that spreads inward.
Rolling down a window during the curing phase is the common trigger, but even after the adhesive sets, the edges remain exposed. The failure points are predictable:
- The bottom edge, where dust and grit accumulate
- The corners, where the film stretches thin
- The rear window’s demister lines
Door cards press against the tints. Grit lodges in the weather stripping. The next time the window drops, that grit scrapes the edge clean.
I have watched drivers pick at a lifted corner with their fingernails. That act turns a repairable edge into a tear across the pane.
When to Consider Re-Tinting
Tints rarely die abruptly. They degrade through accumulated heat and abrasive dust, each sunlit hour weakening the bond between film and glass. The adhesive hardens, the polyester layers shrink, and the once-clear transmission becomes hazy. South African summers accelerate this process with brutal efficiency.
- Colour fading toward a bronze or blue hue
- Hazy patches that persist after professional cleaning
- Bubbles that reappear months after installation
These signals separate an ageing film from a failed one. Most tints last five to seven years, but a coastal environment can halve that timeline. The glass remains structurally sound, yet the tint’s ability to reject heat and glare has quietly vanished. When the visual noise disrupts driving focus, the purpose of the original installation is already lost. Re-tinting is not an upgrade at that point. It is a restoration of what the window promised on day one.
0 Comments